December 28, 2008

Whimsy Stamps Monthly Guest Designer Call

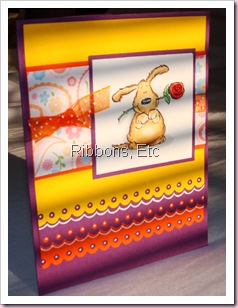
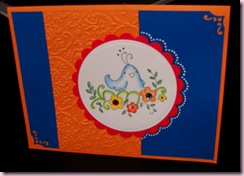
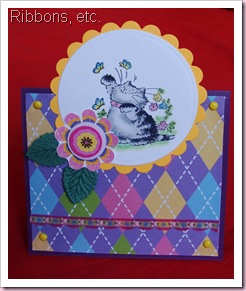
I made this card for the Whimsy Stamps Designer call but got a little late; but I'll still go ahead and submit it just in case...

Here are the rules:

  • Anyone from around the world may enter this design call.
  • Monthly Guest designers must have their own blogs to share and promote projects featuring Whimy Stamps.
  • Enter as many times as you would like.
  • It is not necessary, for this particular design call, to use a Whimsy Stamps image, however if you have one, please do.

Monthly Guest Designers will receive free Whimsy Stamps, during their design period, and links on our website to their blog!

To enter the Whimsy Stamps Design Call for January 2009:

  • Make a card or scrap book page using at least 3 layers and 3 embellishments with an animal image or Whimsy image
  • Post this card on your blog and announce our guest designer call
  • Upload a picture of your project on PCP and/or SCS with the tag whimsydesigncalljan09

DSC01637

Stupid that I am I misread it as "exactly 3 layers and 3 embellishments" and it was not until I posted this that I saw it says "at least 3 layers..." :((.

  • Stamps: Penny Black "critter party"
  • PP and CS: DCWV and Bazzill
  • Ms Elizabeth adhesive ribbon, brads, stickers, die cuts, prismacolor pencils, OMS
December 26, 2008

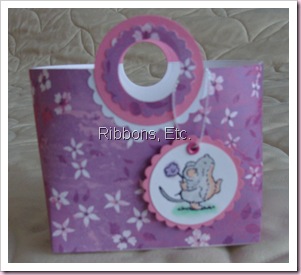
A little bag

This bag is inspired from the Box in a bag @ SCS. I made the base 2" X 3.5" and the height is approximately 3"-4". The thing to keep in mind while making this bag is that the perimeter of your base should be less than the width of the patterned paper available to you. In my case, the largest size paper I had was 12 X 12. So the width here is 12. Now the first time I created a base of 3" X 4". The perimeter (sum of all sides) in this case is equal to (2X3 + 2X4 = ) 14. So I couldn't wrap around the PP if I chose to go with that base. Hence I changed the base to a smaller size.

Isn't it very cute?!?! Would make a perfect party favor or a treat bag for a kid!

DSC01630

Lovey Dovey Challenge by OCC

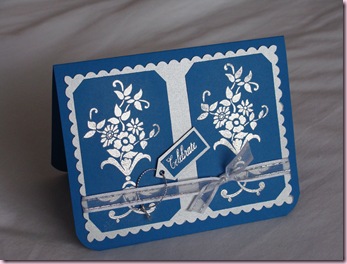
This is my entry for the Lovey Dovey Challenge at OCC. I made this as a wedding card for one my friends and I'm very happy that it turned as I thought it would.

DSC01634

  • Stamps: Decorative dainties by CTMH, Flourished Words by Flourishes
  • PP and CS: Bazzill and silver CS from paper co. (I think)
  • Silver embossing powder, ribbon, silver cord, scalloped scissors, crop-a-dile

December 25, 2008

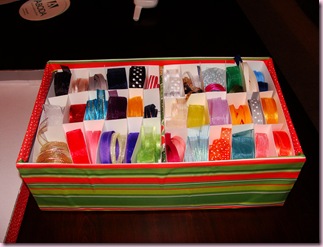
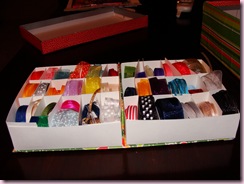
Embellies storage in a shoebox - Recycle at its best!

Ok, I HAD to give myself a pat on my back when I designed this storage solution for my ribbons and various embellishments.
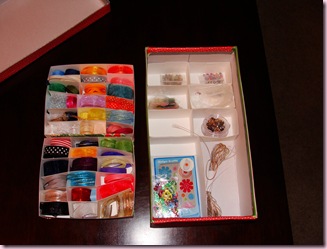
I took a shoebox and decided to divide it vertically into two "floors". The bottom one consists of same-height boxes which can each have different embellies. The top "floor" has compartments for ribbon. In the middle it has a handle so that you can pick it up and look at the things at the bottom. If you want you can pick out any of the individual boxes at the bottom.
I'm so proud of it . It fulfills my need for storing my ribbons and also organizes all my embellies! AND it is zero cost - all I used was a shoebox, some cardstock and some PP!

DSC01571

DSC01572

DSC01575

The divider in the center can be used to pull out the "tray" to access things at the bottom.

December 22, 2008

Box for cards and whole lotta tags!

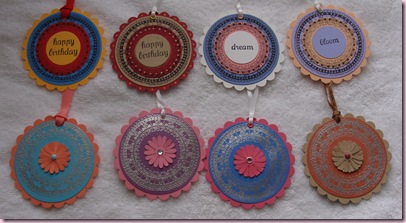
Ok I was so loving the process of making these tags that I made them in every possible combination I could think of; what could I do, I just loved them! This set from Inkadinkado is one of my favorites. I also wanted to use my new crop-a-dile so this was my excuse for using it :)

DSC01621

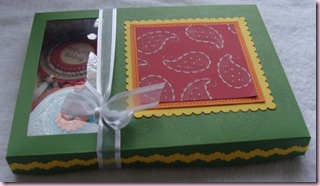
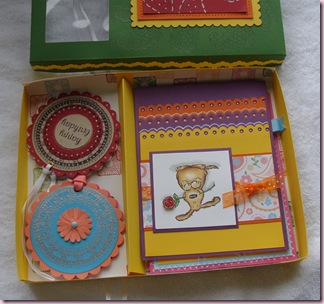
Then I thought I would make a gift box for my friends which could contain some cards and tags. So here it is:

DSC01625

DSC01624

Let me show you the card that is on the top...

DSC01576

The border is created using a scalloped scissors and crop-a-dile. Doesn't it look like the "threading water punch"?

Did you know that in Live Writer, when you insert a picture in your post it gives you the ability to add a watermark?!?! That's what I did above. Isn't that cool?!?!

Happy Holidays to all of you!

December 7, 2008

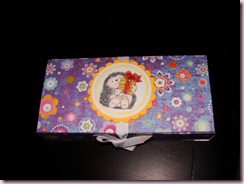
A new box

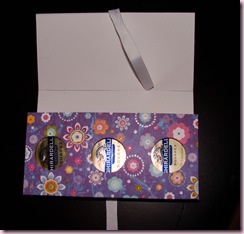
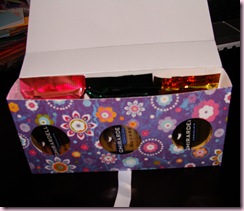
I was so dying to make this box since I saw Debbie's box that I was really excited when I got a chance! I wanted to make a gift of these Ghirardelli squares and decided that this kind of a box would be perfect. It fits 9 squares: 3 pieces in each of the 3 rows.

This was the first time I was making it all on my own: creating my own template, figuring out the dimensions, yadda yadda yadda; it does need some fine tuning for next time. Some things to change in future:

  1. I think a solid cardstock would look better than the printed one as it would bring out the colors in the Ghirardelli squares. In it's present state, it looks a little busy.
  2. I think 9 squares are too much to hold in the box. Maybe 6 would've been better.
  3. I should add some corner flaps to give it more stability.

DSC01560

DSC01561

DSC01562

The Penny black stamp is from the Penny black clear stamp set that I got from my parents as a birthday gift recently. Of course they have no clue about these stamp sets :); I just tell them I want to buy it on my b'day - so simple!. Oh and I also got a crop-a-dile for my b'day and JustRite stamp set (which is on its way) and whole lotta ribbon!

Oh and there is this card that I made recently which I simply love:

DSC01556

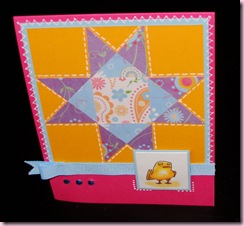
On this one I used a quit pattern. When my DH saw it, his first question was "why's that bird crying?" :)!

DSC01554

  • Stamp: Inkadinkado, penny black
  • CS and PP: DCWV and Bazzill
  • Prismacolor pencils, OMS, white gel pen, rhinestones, grosgrain ribbon, fiskars corner lace punch,cuttlebug textile folder, nestabilities