June 30, 2014

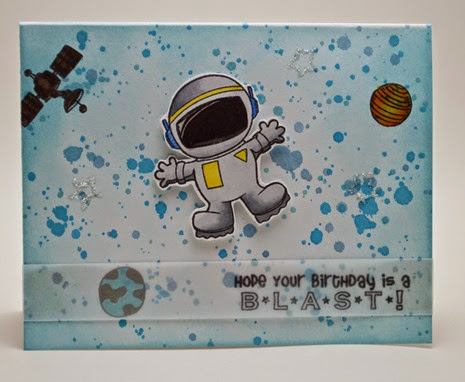
Hope your birthday is a blast

DSC_0178

Stamped the astronaut on a piece of white cardstock and colored with spectrum noir markers. Splattered various blue colored distress inks on a white cardstock. To splatter, impress the stamp pad on a craft sheet or other non-porous surface and then use a brush/water brush to flick ink on the cardstock. Sponged the cardstock with tumbled glass ink. Stamped and colored various space images on the base cardstock. Stamped the sentiment on vellum and added it to the cardstock base using vellum tape.

  • Stamps: Technique tuesday
  • distress inks, papertrey ink cardstock, spectrum noir markers

June 23, 2014

Another version…

DSC_0008 (2)

Here’s another card using the same technique as I used in the previous card. In this case, the edges of the oval were a little rough due to some “accidents” and so I added a oval outline using black cardstock. Like they say “every mistake is an opportunity to embellish” Smile

  • Stamps: Stampendous greetings
  • Papertrey ink cardstock

Glittered sentiment

WP_20140615_001

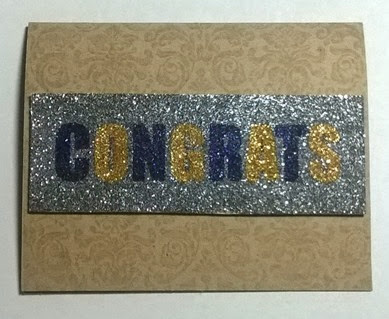
This card follows the same technique as my last card.

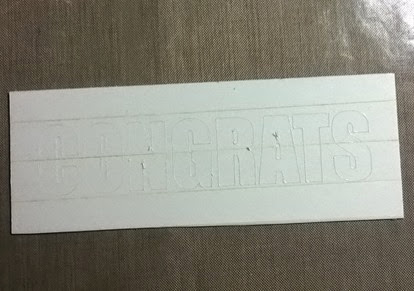
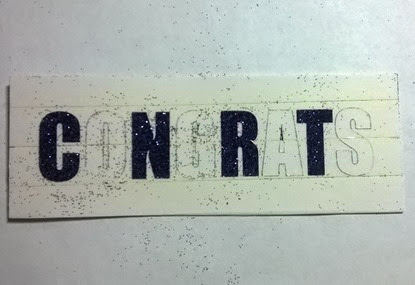
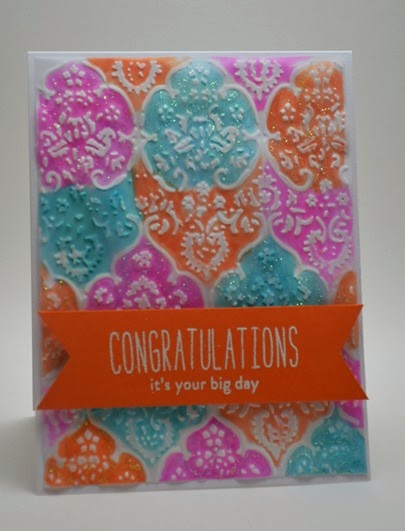
Cover your cardstock with double sided adhesive tape/sheet. Die-cut the sentiment, with the die on top of the side with the liner (for the double sided adhesive tape). In my case I die cut the sentiment using Zing, my electronic die cutter. While die cutting make sure that you don’t cut all the way through. In fact you just need a light enough impression that it cuts through the liner of the double sided adhesive tape.

WP_20140601_003

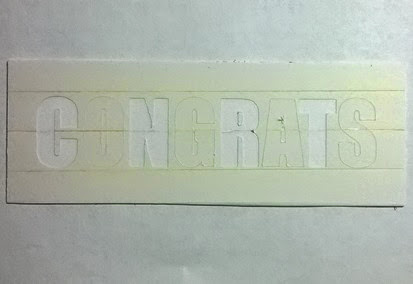
Remove liner for C, N, R and T.  Alternate letters in “CONGRATS”

WP_20140601_004

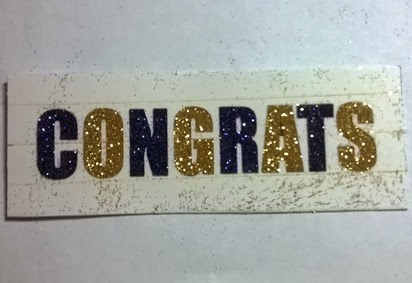
Pour purple glitter on it, burnish it with a bone folder and then clear away the excess using a painting brush with soft bristles.

WP_20140601_005

Do the same for gold glitter.

WP_20140601_006

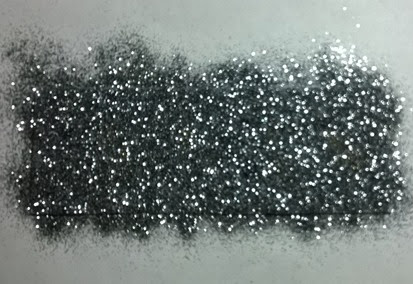
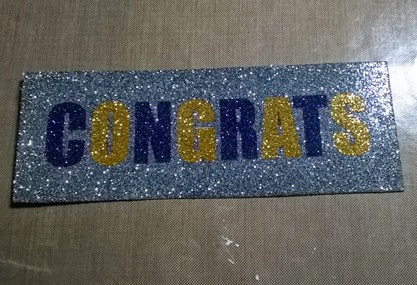
And lastly with the background, silver.

WP_20140601_007

After finishing all colors, pour some glossy accents on your craft sheet. Using your finger spread it over the glitter. This will seal the glitter and you wouldn’t have the recipient having glitter all over them.

WP_20140601_008

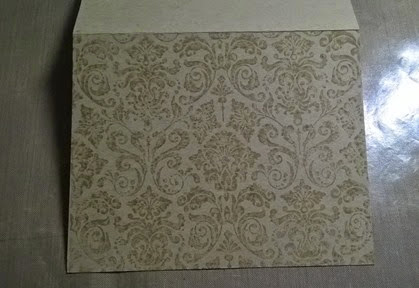
Stamped the Damask background using Aged linen.

WP_20140601_009

And finally add the glittered panel to the base using some foam tape.

June 16, 2014

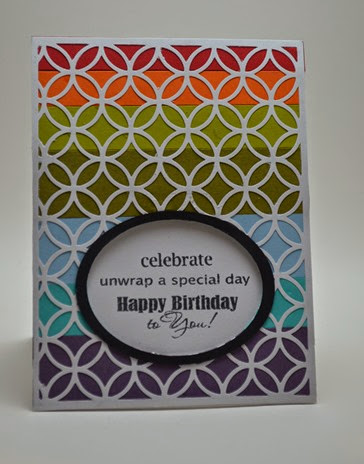
Background die cut and scraps

DSC_0006

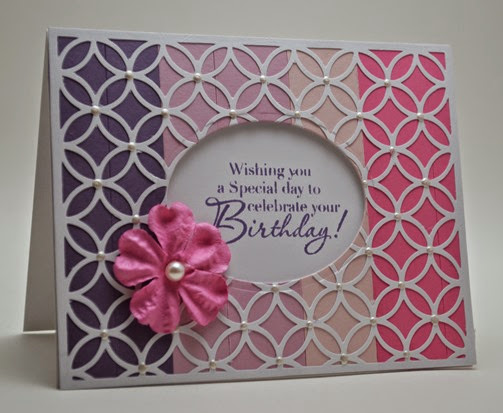
I was inspired by one of Kristina Werner’s cards. I realized that it gave me an opportunity to not only use my scraps but also cut a background using my Zing.

I got the background from Bird’s Cards; adjusted it to an A2 card size and cut it on white cardstock. Cut copy paper to A2 size and cut strips of cardstock. Glue these strips to the copy paper. Adhere the die cut background on top of the strips. Cut out an oval using nestabilities. Stamped the sentiment on the base and popped up the panel on dimensionals.

  • Stamps: Stampendous greetings
  • Papertrey Ink cardstock, distress ink concord grape ink, embellishment, liquid pearls

Glittered background


DSC_0181

I saw this technique on Jennifer McGuire’s blog and since I’ve loads of glitter sitting on the shelves I thought why not give it a try. Now let me tell you, playing with glitter is like a kid playing with mud. Its fun but it leads to a LOT of mess! So be prepared for it.

Jennifer used a double-sided adhesive sheet but I didn’t have it so I used just my regular double-sided tape. The adhesive sheet does make the process easy but using the tape wasn’t too hard and it did produce the desired result. So I’m happy not having to buy yet another thing.

I took photos along the way to show you each step. What you’ll need:

  • Double sided adhesive sheet or tape
  • Background Die or an electronic die cutting machine
  • glitter in colors of your choice

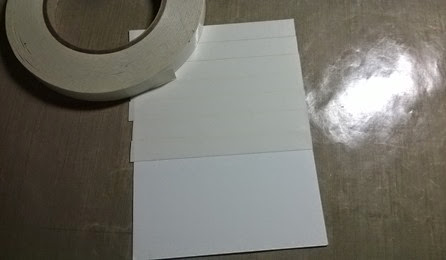
Cut a white cardstock 4” X 5.25” in size. Cover it with double sided adhesive tape (or sheet).
WP_20140605_001

Once you’re done, your cardstock would look like this. Do NOT remove the liner of the double sided tape – this is what helps you in die-cutting a background.
WP_20140605_002

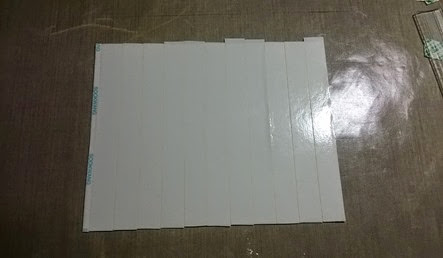
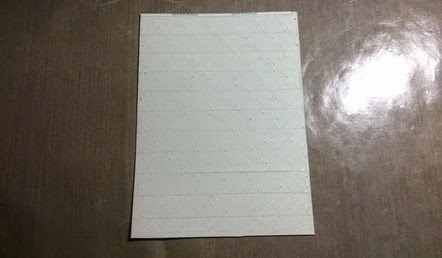
I used my Zing to cut a background on the side of the cardstock that has the liner. So when I put it on the cutting mat, the liner side was facing up. You do not need a deep cut; it should just cut through the liner. If you look at the photo below, you can see the cuts made by Zing. The background is from birdscards.com.
WP_20140605_003

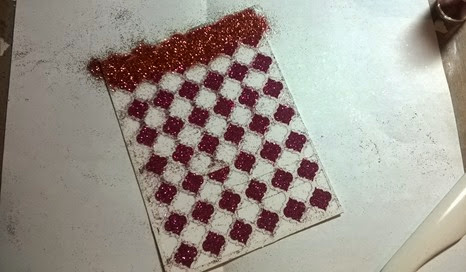
Decide which parts of your design will be what color. Start with the darkest color. Remove the liner from places where you want the darkest color. In my case, it was pink. Pour glitter over the exposed areas. Don’t worry if it falls into areas of other colors. We can wipe that later. Once I covered all the areas for pink, I burnished the glitter. I did that by using my bone folder and rubbing it across the whole design. Then clear away the glitter from the liner areas. Jennifer suggests using a baby wipe but that didn’t work for me. I used a painting brush – one with soft bristles. That worked really well as you can see below. Now remove the liner for areas that need to be covered with the next color. In my case it was orange. Follow the above process with the orange glitter.
WP_20140605_009

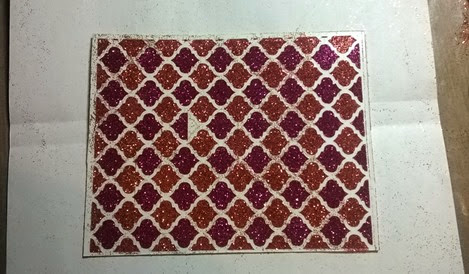
The last color I used was white glitter. Don’t worry if the glitter falls over the areas with orange and pink glitter. You can wipe that off using the painting brush. Once yo’ve burnished the glitter (again you don’t need to worry that it would stick to other areas – it doesn’t), use your brush to wipe off excess from all areas. You can see below that I forgot to remove the liner for one of the pink colors. No worries. At the end, I just removed that and poured a little pink glitter over it, burnished it and wiped off the excess.
WP_20140605_010

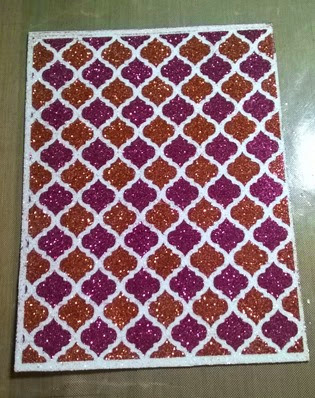
I did al this over a copy paper, so that I could pour the excess glitter back into the container and I didn’t have too much of a mess on my work surface. After covering all areas, this is how it looks.
WP_20140605_011

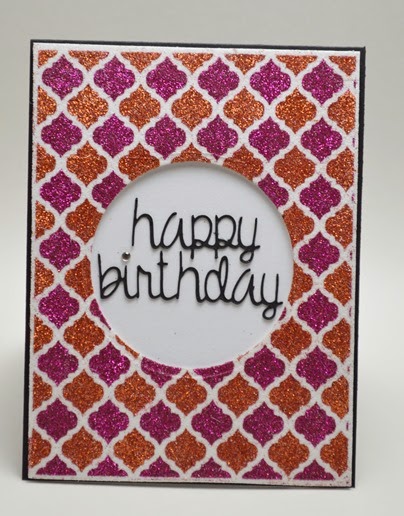
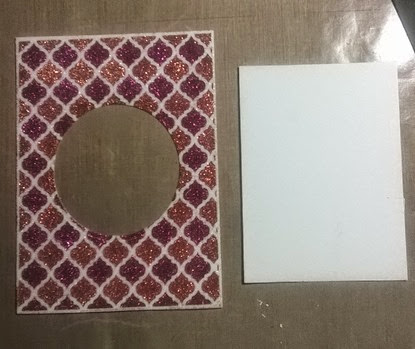
Isn’t it awesome! To finish my card, I die cut a circle in the finished panel. Cut out the sentiment using Zing. Adhered the sentiment to white cardstock. Added the finished panel on top of the white cardstock using foam tape. Adhered all this to a black base using glue.
WP_20140606_001

June 9, 2014

Coloring on vellum

DSC_0004 (2)

Another card where I used coloring on vellum. Embossed vellum and colored on the reverse side using spectrum noir markers. Embossed the sentiment using white embossing powder.

  • Stamps: Lawn Fawn Milo’s ABC, Waltzingmouse Say it loud
  • Papertrey ink cardstock, vellum, white embossing powder, stickles

June 2, 2014

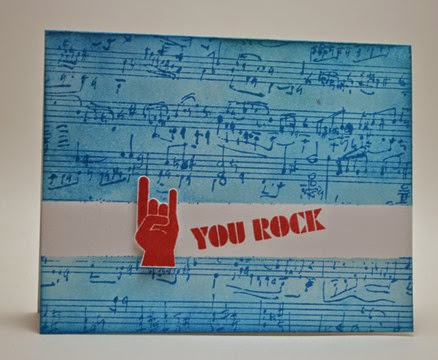
You rock!

DSC_0003 (2)

Masked a medium strip on white cardstock using painter’s tape. Sponged white cardstock with distress ink salty ocean. Stamped cover-a-card music sheet in salty ocean. Removed the painter’s tape. Stamped the music symbol and fuzzy cut it. Stamped the sentiment on the card base.

  • Stamps: Impression Obsession cover-a-card music, My Favorite Things LLD Document it – Rock on
  • Papertrey ink cardstock, distress inks