September 29, 2014

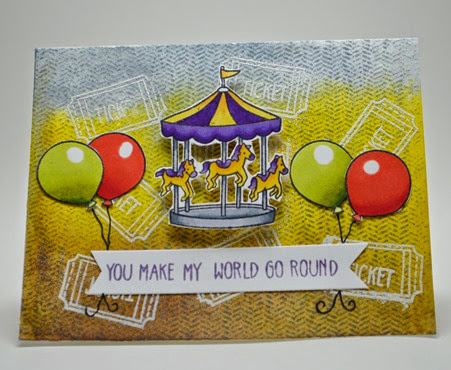
You make my world go round

DSC_0010

For the background:

  1. White emboss ticket stamp on watercolor cardstock
  2. Sponge various distress ink ink pads on a craft sheet
  3. Spritz water on the watercolor cardstock till its all wet.
  4. Press the wet side of the cardstock onto the craft sheet.
  5. Stamp with herringbone background stamp.

Rest of the card is fairly straightforward. Stamped, colored and fuzzy cut the carousel and balloons. Stamped the sentiment on white cardstock. The carousel is popped on foam dots. The strings for the balloon are hand drawn using a black pen. On and the sentiment – it was in two lines so I cut it out. Yes I was scared but there were no casualties Smile

  • Stamps: Lawn Fawn Admit One, Impression Obsession Herringbone cover a card
  • Watercolor cardstock, distress inks, spectrum noir markers.
September 22, 2014

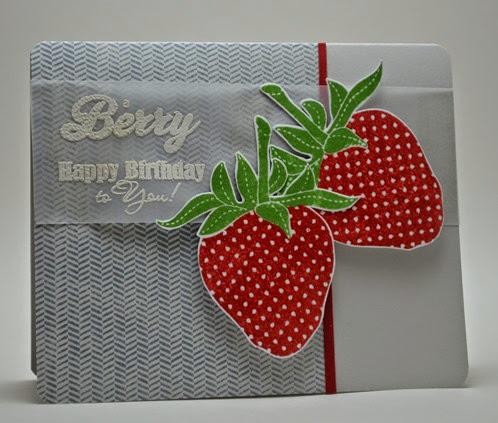
Berry sweet

DSC_0007

I’ve been trying to create my own sentiments these days and this is a good example of that. The “berry” word is from one stamp set and the “happy birthday to you” from another. They’re white embossed on vellum.

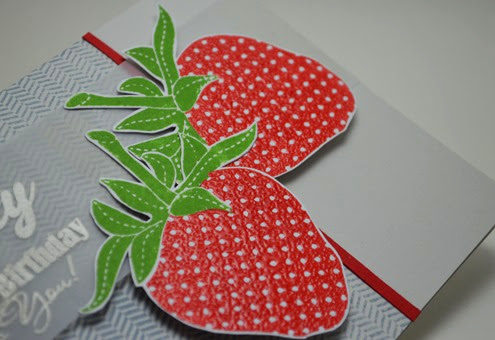
For the strawberries, I stamped them in distress inks and embossed them with clear embossing powder. After the first embossing while the powder was still hot, I embossed it again with the clear powder to give it more dimension. I think I’m pleased with how it turned out!

DSC_0008

I masked the card panel using masking tape and then stamped herringbone background in weathered wood. Cut a thin strip of red cardstock and added it to the border. Added the sentiment and then popped the strawberries using some foam squares.

  • Stamps: Waltzingmouse berry sweet, Stampendous birthday greetings, impression obsession herringbone background
  • papertey ink cardstock, distress inks, white and clear embossing powder

September 15, 2014

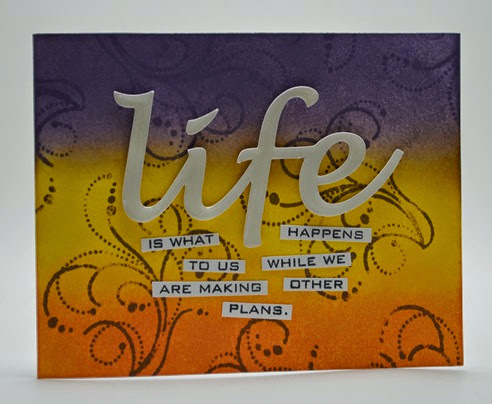
Life is what happens

DSC_0003

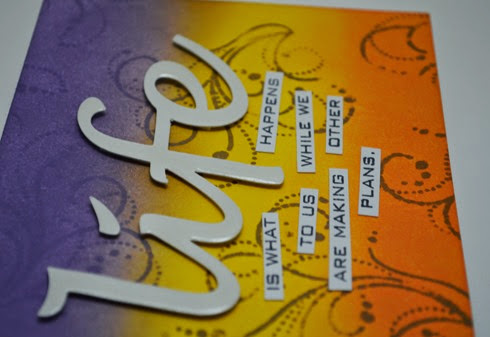
Ooh I love what I did with this sentiment stamp Smile. You would be surprised to see how it looks originally!!! I cut out Life using Zing and then covered it with glossy accents to give it a… well glossy look! Then I stamped the rest of the sentiment on paper and cut out the words randomly depending on how they would fit. You don’t even need a stamp for this, you could print it out using your computer and then cut out the words.

A close look at how glossy “life looks:

DSC_0004

For the background I sponged mustard seed, orange marmalade and dusty concord. Then stamped a flourish using dusty concord.

  • Stamps: tim Holtz Thoughts and Prayers, Studio G flourish
  • Papertrey ink cardstock, Zing, glossy accents.

September 8, 2014

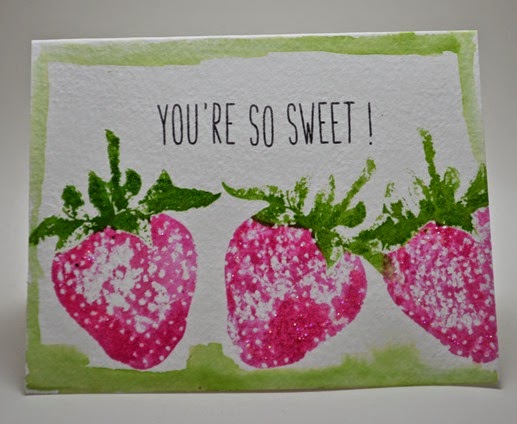
You’re so sweet!

DSC_0001

I wanted to give a watercolor effect in this card. So I rubbed distress ink pads on my craft sheet and then I got the ink on my stamp from the craft sheet(instead of using the ink pad) , slightly misted it and stamped it onto watercolor paper. Then using my watercolor brush I picked up some ink and doodled a boundary.

The sentiment was created using Milo’s ABC. That stamp set has come in very handy – I can create my own sentiments when I want to. I’m now tempted to get the Claire’s ABC set which has lower case letters too!

  • Waltzingmouse Berry Sweet, Lawn Fawn Milo’s ABC
  • Strathmore 140 lb watercolor paper, distress inks, watercolor brush

September 1, 2014

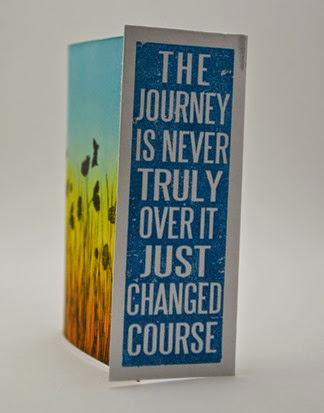
The journey

DSC_0080

I love all the sentiments from this stamp set (Tim Holtz Thoughts and Prayers). I used versafine ink to stamp the sentiment. If you’re looking for an ink t hat gives good coverage with solid stamps then look no further – versafine is DA ink!

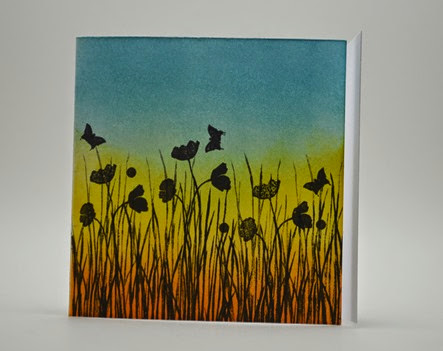
DSC_0079

I loved this sponged look – look at how the colors have blended! Whenever I want to sponge a sky background, I search for images on the internet for sunrise and sunset photos and pick the color combinations from there. The stamps are from a Technique Tuesday stamp set – I forget the name. I stamped some grass using second generation stamping too.