May 25, 2015

May your life grow…

Hero Arts Blossom Art, My Sentiments Exactly Anniversary sentiments

There are times when I just feel like coloring something. So I would stamp a few images and color them with no specific card/goal in mind. I’d collected a few such images and decided it was time to give them some meaning. I was quite surprised at how this card came together! Initially I’d these 4 colored flowers which had no coordination between their colors and I was totally at a loss on how to use them; but slowly and gradually things started falling in place. When the card was completed I loved it! Absolutely loved it!

Look at those touches with a gold gel pen! They look gorgeous! And those flourishes in the background? They added such a neat effect. I drew a border with a gold gel pen and embossed the sentiment in gold embossing powder.

Hero Arts Blossom Art, My Sentiments Exactly Anniversary sentiments

  • Stamps: Hero Arts Blossom Art, My Sentiments Exactly Anniversary Sentiments
  • Paper: Papertrey Ink and Crafter’s Companion
  • Spectrum Noir Markers, Gold gel pen, Gold embossing powder, Versamark ink

May 18, 2015

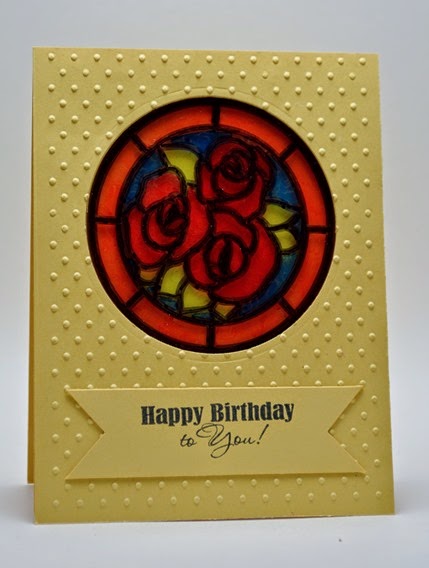
Stained glass look

knk zing, stained glass

I used the same stencil pattern as I did here. Instead of using a blade, I used a sharpie marker to draw with my Zing on acetate cardstock. Then colored on the back of the acetate with various sharpie/bic markers. I die cut the window using Nestabilities. The panel is adhered on foam tape to the base cardstock.

  • Stamps: Stampendous Birthday sentiments
  • Papertrey Ink cardstock, sharpie/bic markers, Swiss dots embossing folder, knk zing

May 11, 2015

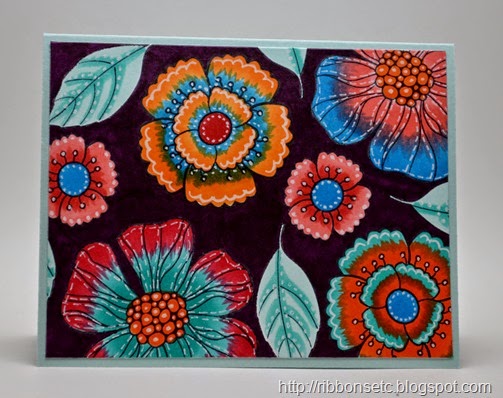
Bold and Beautiful

Hero arts Blossom Art, Copics

I love bold and bright colors. So when I saw this card from Sandy Allnock, I wanted to make something similar. Lucky for me, my small stash of copic markers had just arrived and I knew the perfect stamp set for this. The background is done using Bic marker since I didn’t have a copic in that color. I love how this card turned out. What I learnt from Sandy’s card is – don’t be afraid to use two totally different colors together. In fact that’s what is the beauty of this card.Love it! Thanks Sandy!

  • Stamps: Hero Arts Blossom Art
  • Papertrey Ink Cardstock, Copic Ciao markers

May 4, 2015

Foiling with printer and iron

DSC_0011

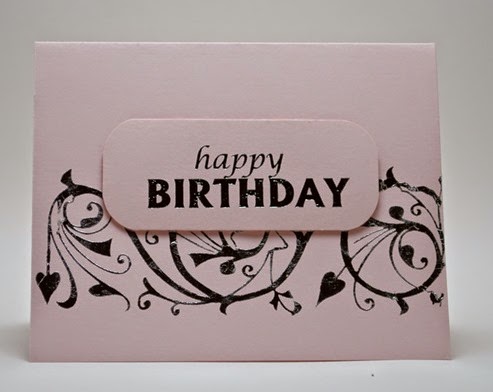
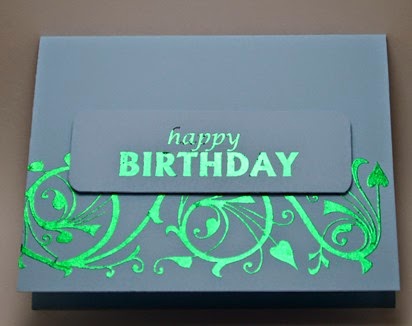
Foiling is all the rage these days and for good reason! Not only is it fun doing it but the results produced make you feel so smug Smile For the above card, the scrolls were foiled using some adhesive designs from clearsnap. You apply the design like a double sided tape, put the foil on top and rub on it (like rubons). For the sentiment, I printed it on a laser printer and then used my iron on the wool setting. Now this took some trial and error before I got it right. Cotton setting was too hot and the nylon setting too cold for it. So I would suggest that you print out some small star or other design in multiple copies on your paper and then try with different settings. Now when I did this, I was too confident! How could anything go wrong. So I just started with my original design and ended up wasting so much of my foil Sad smile that towards the end I was worried I wouldn’t have any when I finally got it right!!

I did another card:

DSC_0013

The setup that worked for me:

  1. lay your heat resistant craft sheet on the table ( I use the ranger’s craft sheet).
  2. Put your cardstock with laser printed design on it.
  3. Put your foil the shiny side up on top of the cardstock.
  4. Now iron on top of the foil.
  5. Regarding how long you need to iron – that too is trial and error. I did for around 40-60 seconds I think.

A close up of the first card

DSC_0014

As you can see it may not be perfect but the flaws are not so obvious. For the effort it takes and the results it produces, I think it is totally worth it!

  • Papertrey ink cardstock, Thermo web deco foil, Clearsnap adhesive design