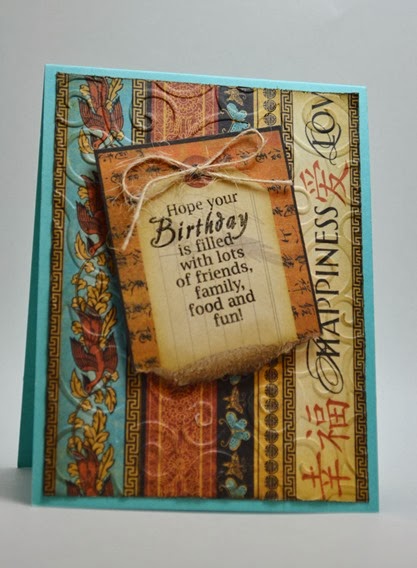
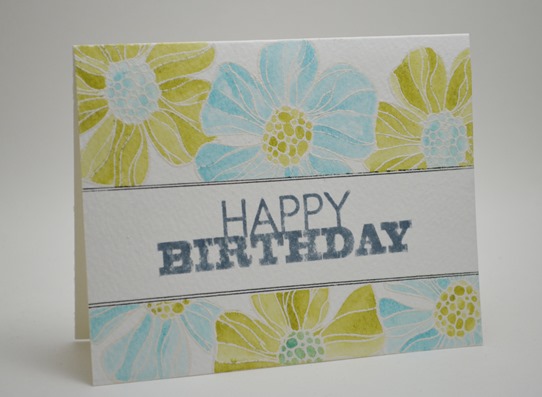
- Paper: Graphic 45 Bird Song, Papertrey Ink Cardstock
- Stampendous birthday wish, Memento ink, Walnut Stain distress ink. Swirls embossing folder.
December 31, 2013
Bird Song collection–Birthday
December 26, 2013
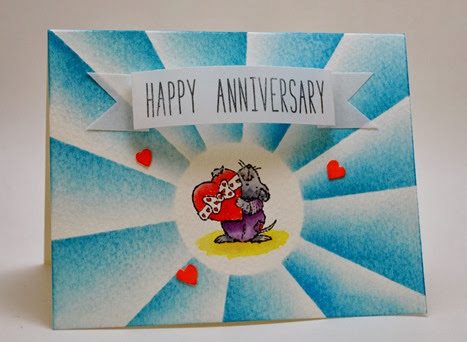
Happy anniversary with sunburst background
I’m so proud of my sunburst background! I created it using a painter’s tape, distress ink and foam tool. I used a circle as a mask and then sponged the background all over. To create the rays, I took a strip of painter’s tape and kept moving it like a compass till the circle was complete. The sentiment was made using Milo’s ABC and stamped on vellum. The image was colored using distress inks and water brush.
Stamps: Penny Black good catch, Lawn Fawn Milo’s ABC
December 24, 2013
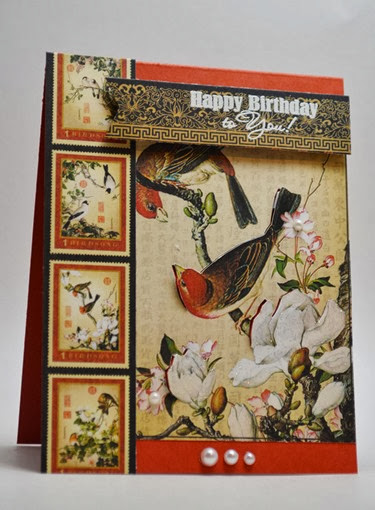
Bird Song collection–Happy birthday to you
- Paper: Graphic 45 Bird Song, Papertrey Ink Cardstock
- Stampendous Birthday wish, adhesive pearls, Diamond stickles
December 19, 2013
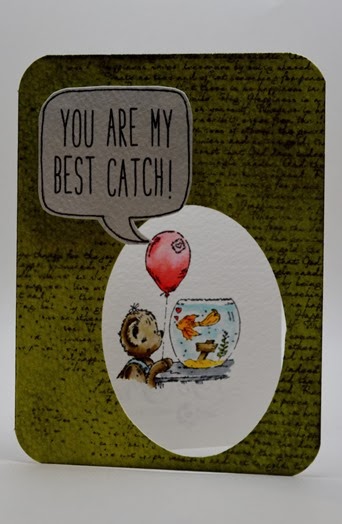
You are my best catch
Sponged the card base (watercolor paper) in peeled paint. Stamped the Text BG. Diecut an oval in card front. Stamped the penny black image. Colored using distress inks and water brush. Created the sentiment using Milo’s ABC and hand drew the dialog box then fuzzy cut it.
Stamps: Penny black good catch, Waltzingmouse stamps text it, Lawn Fawn’s Milo ABC
December 17, 2013
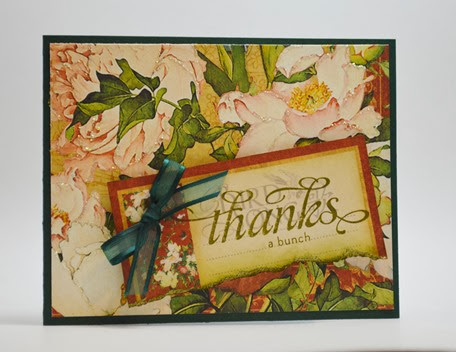
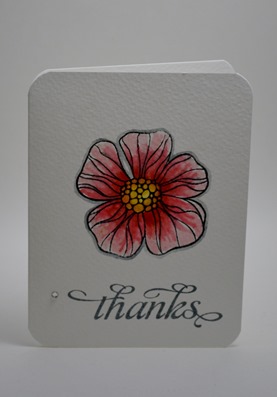
Bird Song collection–Thanks
- Paper: Graphic 45 Bird Song, Papertrey Ink Cardstock
- Stamp: Waltzingmouse stamps Say It loud
- Distress Ink – forest moss, Stardust stickles.
December 12, 2013
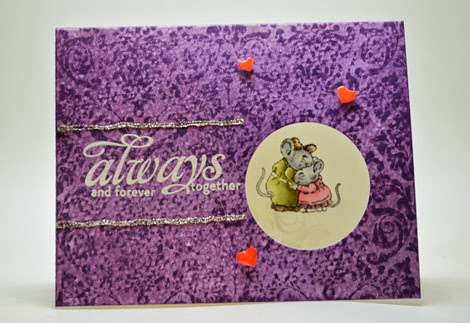
Always and forever
Sponged the card base (watercolor paper) with Distress Ink dusty concord. Then stamped the Wallpaper BG stamp. Die cut a circle in the card front. Stamped the penny black image. Colored with distress inks and water brush. Stamped the sentiment in versamark and embossed with white embossing powder. Created two lines with glossy accents and sprinkled some glitter on them. Fuzzy cut hearts, colored them red and covered with glossy accents. Then popped them with foam dots.
Stamps: Impression obsession cover-a-card Wallpaper, Waltzingmouse stamps Say it loud, Penny Black Good catch.
December 10, 2013
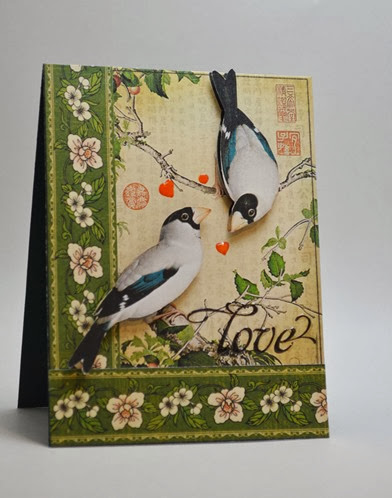
Bird song collection–Love
- Paper: Graphic 45 Bird Song collection, Papertrey Ink Cardstock
- Stamp: Waltzingmouse stamps Say it loud
- Glossy accents, Spectrum noir marker
December 3, 2013
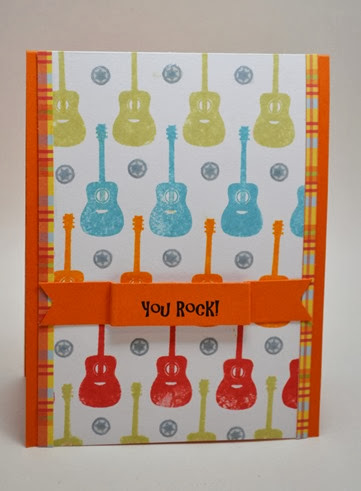
You rock!
- Stamp: Waltzingmouse Way out west
- Distress inks, Papertrey ink cardstock, computer generated sentiment.
November 26, 2013
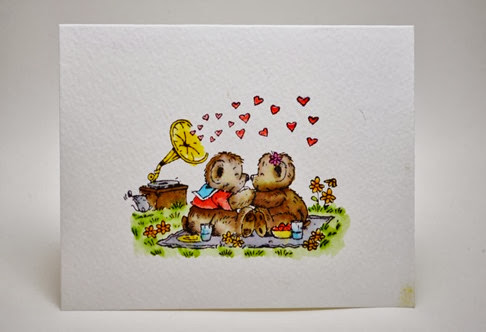
Anniversary card
Stamped using Memento black and then watercolored with various distress inks.
- Stamp: Penny Black Good catch
- Paper: Strathmor watercolor cold press 400 series
November 19, 2013
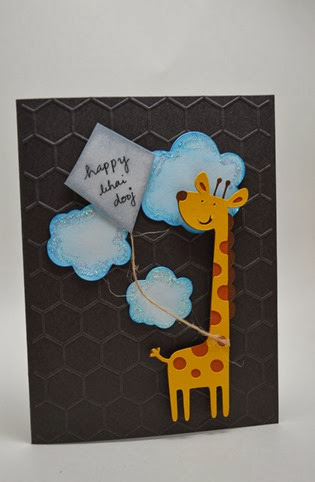
Bhai dooj card
Made this for my brother for bhai dooj. Cut the giraffe using create a critter cartridge and cricut; the clouds using SCAL. Embossed the card base using Darice Honeycomb embossing folder.
November 14, 2013
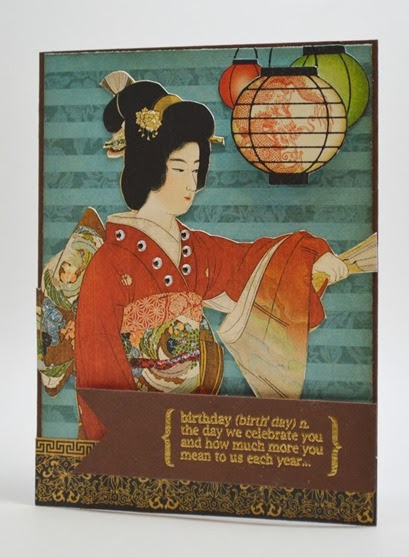
Bird Song Collection–Brithday definition
- Paper: Graphic 45 Bird Song, Papertrey Ink Cardstock
- Stampendous Birthday Wish, Gold embossing powder, Diamond stickles, rhinestones
November 12, 2013
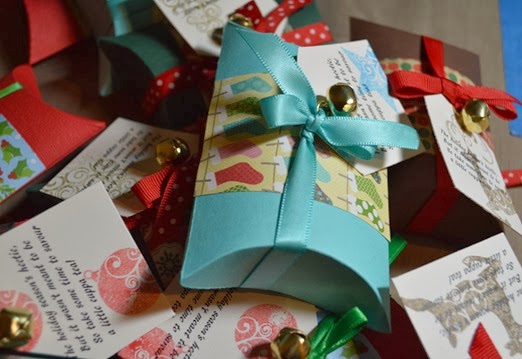
Craft fair goodies–tea bag pillowboxes
I cut the pillowbox using Cricut and SCAL. Printed the sentiment on computer and cut out tags. Stamped images on the tags and then tied it to the box with a ribbon along with a bell. Each box has 2 tea bags.
November 7, 2013
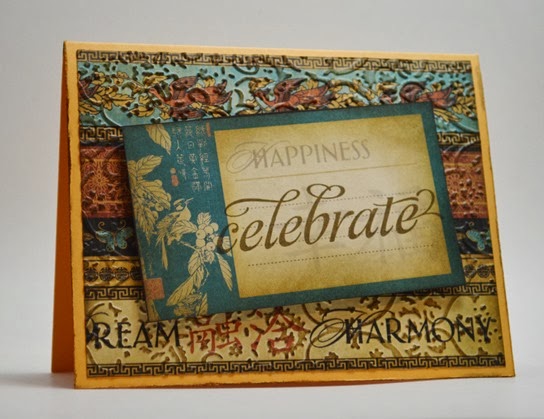
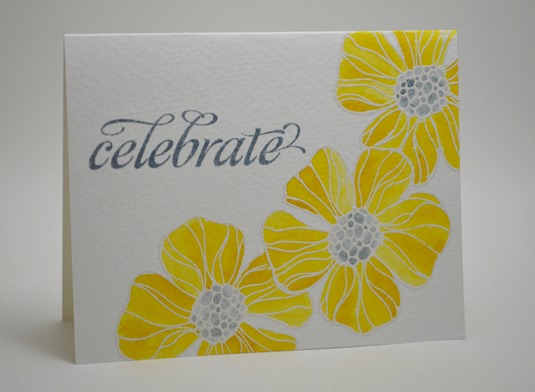
Bird Song collection–Celebrate
- Paper: Graphic 45 Bird Song, Papertrey Ink Cardstock
- Waltzingmouse Say it loud stamps, Walnut stain distress ink, textiles embossing folder.
November 5, 2013
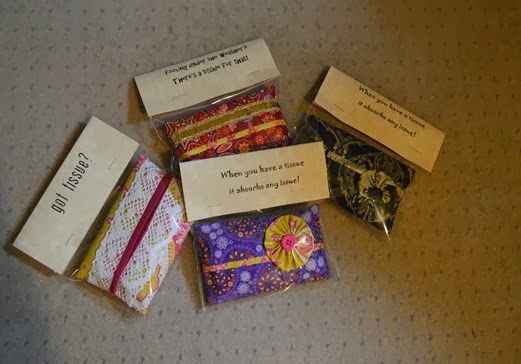
Craft fair goodies–Travel tissue pouches
I used the tutorial from here and added some yo-yo flowers, trim and/or lace. I really enjoyed making them!
November 2, 2013
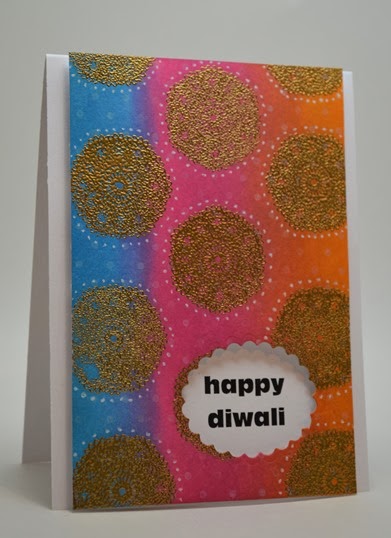
Diwali bloghop 2013
Wish you all a very happy diwali and hurray for the diwali bloghop! Some of you might remember that we’d one last time. Since it was so much fun we figured why not have it again this year! Ok, I’ll admit, it was Chaitali who initiated it!
Without much ado I’ll get down to my card for this bloghop.
It was quit a quickie!
I stamped the doilies in versamark and embossed them with gold embossing powder. Sponged the distress inks. Dotted around the doilies with white gel pen. Die cut a scallop oval on the panel. Printed the sentiment on computer. Adhered the sentiment to the back of the main panel using foam squares. Popped up the panel on the card using foam squares again. Simple, isn’t it?
Now to continue with the bloghop, here’s the chain:
Chaitali
Smriti <—YOU ARE HERE
Sanketi
Gayatri
Deepti
Pooja
Indira
Hope you get inspired by the hop! Once again, wish you all a very happy diwali!
October 2, 2013
Watercoloring - V
Yet to give this card a sentiment!
- Stamps: Hero Arts Blossom Art
- Distress inks, White embossing powder, Niji waterbrush.
September 25, 2013
Watercoloring - IV
I loved the the muted combination on this card! I realized how good a purchase this Hero Arts set is! So versatile!
- Stamps: Hero Arts Blossom Art
- Distress inks, White embossing powder, Niji Waterbrush.
September 18, 2013
Watercoloring - III
I like how the distress inks give a natural variegated look to the petals. I masked and then stamped and colored the flowers. Then drew the lines using a black pen.
- Stamps: Hero Arts Blossom Art
- White embossing powder, distress inks, niji waterbrush
September 11, 2013
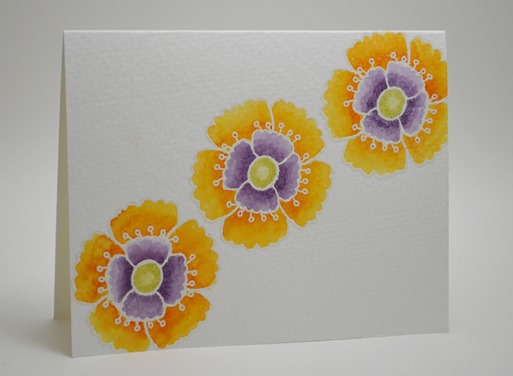
Watercoloring
We’d gone on a vacation when we came across an Art store. We went inside and when I came out, I was the happy owner of a watercoloring paper pad. I’m no guru of watercoloring so I just got what seemed good to me – 140 lb cold pressed strathmore watercolor paper. I really like the thickness of the paper. Being a Papertrey Ink cardstock user, it’s hard to be pleased with flimsy papers. When I came home, I ventured with watercoloring using distress inks and I can not tell you how much fun that was!! So much so that I couldn’t stop myself!!
Here’s my first example:
I used a niji waterbrush and various distress inks. Just dab the pad on an acrylic block and pick the color from it.
August 28, 2013
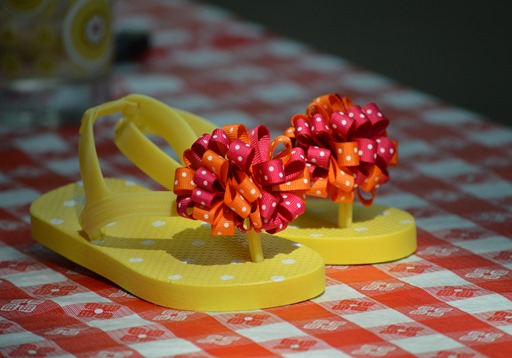
Flip flops with loopy bows
I made this for my friend’s two-year old daughter! It was very easy and a lot of fun to make them. It’s a good project for those lazy afternoons – it took me around 2 hours!
What you need:
- Grosgrain ribbons (in as many colors as you want) – I used two colors
- Fray check (or some other way to seal the ends of the ribbons)
- piece of felt
- needle and thread
- industrial strength glue
I followed the tutorial here. The only changes I did was to use 2.25” pieces of ribbon because I figured I wanted the completed bow to be around 2” in diameter.
Since I was using only two colors (as opposed to the four colors in the tutorial), I cut 20 strips of 2.25” from each ribbon. So I used 45” of each ribbon.
I tried to glue the bow to the flip flop using hot glue but when I tested it after a few days it came off. So then I used E6000 and it seems to be working so far.
April 23, 2013
DIY: Dyeing a bedsheet
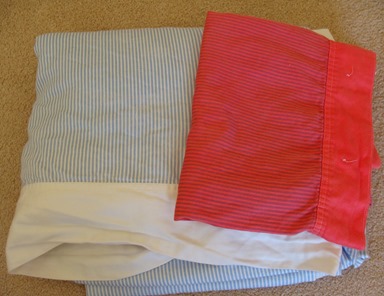
I decided that it was time our bedsheet had some coordination with the our duvet cover. However replacing a bedsheet does not come cheap. Especially if you’re looking at a king sized one. Also, if you’re existing bedsheets are in good enough condition then you don’t want to throw them. So I thought to myself – how I wish I could dye them. That thought was followed an internet search and I found a useful link.
Here’s a before/after comparison:
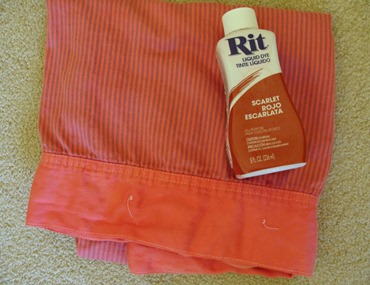
I knew the color that I wanted so I bought two bottles of RIT Scarlet Liquid Dye. The bedsheet and the pillows together weighed close to 2 lbs. So that would be 1 bottle of RIT (1/2 a bottle for each lb of fabric). Since I wanted a rich color, I figured I would go with 2 bottles.
Here’s a comparison with the color on the bottle and the actual color that it dyed to. I would say I got a more coral color than a Scarlet. Luckily coral works for me equally!
The instructions mentioned to use the washing machine for bug fabrics but I wasn’t too confident that everything would fly well and there would be no unforeseen consequences with that approach. So I went with the bucket/sink method.
I used a big Sterlite box and did this whole process within the confinements on my bathtub. The instructions say to cleanup afterwards using bleach. However I’m happy to report that I was able to cleanup my bathtub with baking soda. That might differ from one tub to another.
Wear clothing that is dark enough so that if a few drops of dye to splash on you, your clothes don’t get ruined. Or wear an apron, work clothes, you get the idea.
Steps to follow:
- Wet the fabric.
- Fill the box with hot water.
- Add salt.
- Mix in the dye.
- Now put your bedsheet and pillows in.
- Keep stirring for 30 minutes. The instructions say 30-60 minutes; but I was tired after 30 and wasn’t sure that I was seeing any difference so I stopped.
- Rinse, rinse and rinse the bedsheet and pillows in water.
- Did I mention rinse? Oh yes I rinsed them TEN times – yes you read that right! TEN!!!! If you’ve rinsed a king size sheet once then you know how I felt!!! No wonder on the instructions they don’t mention how long that might take!!!
- I washed the bedsheet in the washer and then dried it in the dryer.
I’m very happy with the result! With just $6 (I used a coupon at Joann for the dye) and a little (?!?!) muscle work I now have completely new looking bedsheets. Plus I don’t have to dump my good old bedsheets!
April 5, 2013
My first quilt
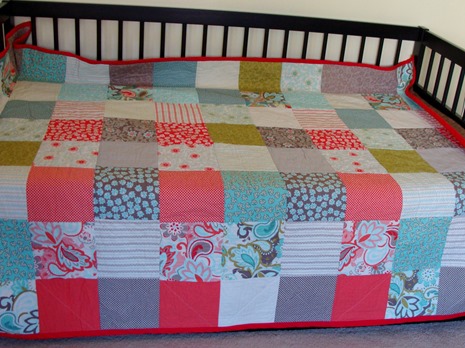
I started this quilt back in December and it took me four months to get it done! It’s a very simple quilt with just chain stitching; but it makes me very happy! Quite a long time back I used to eye various quilts that I would see around me and wish that I would make a quilt one day. Then a few days later I would be totally dissuaded considering the gigantic size of the project – literally and figuratively! I don’t know how and when I decided that I was going to make one – I guess the day I bought the fabric
Initially I started with quilting in the ditch, then thought maybe I could do some diagonals but it turned out to be too much work so I returned back to quilting in the ditch!
Anyways…it’s almost a full sized quilt. There are a lot of things I learned:
- ALWAYS make sure that your pieces are straight and to the measure.
- A 1/4” seam means 1/4” – no less and no more.
- After piecing, if you don’t have a rectangle/square, trim it to one.
- After quilting, if you don’t have a rectangle/square, AGAIN trim it to one.
February 22, 2013
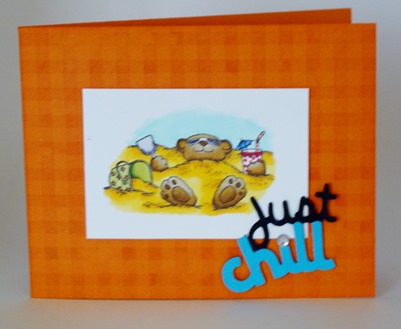
Just Chill
Colored the main image with spectrum noir markers. Cut the sentiment using create-a-critter cartridge. Stamped gingham background in spiced marmalade.
- Stamps: Great Impressions, Impression Obsession cover-a-card gingham
- Paper: PTI
- Ink: Memento black
- Accessories: create-a-critter cartridge, cricut
February 20, 2013
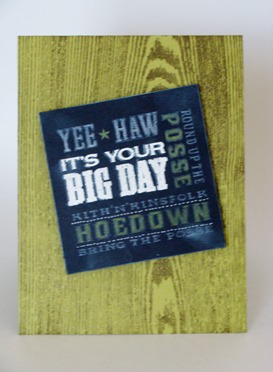
Chalkboard technique
Stamped the woodgrain background in Forest moss. Stamped various sentiments in white ink and embossed the main sentiment in white EB. Sponged white ink randomly on the black CS. Went over the sentiments with white and green prismacolor pencils.
- Stamps: WMS Back in the Saddle, impression obsession cover-a-card woodgrain
- Paper: PTI
- Ink: Palette white, versamark
- Accessories: prismacolor pencils, white ep
February 18, 2013
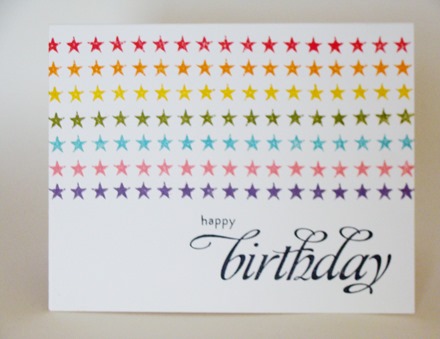
Starred happy birthday
Yes I’ve been having a lot of fun with single layer/CAS cards and my distress inks! I never knew the distress inks would be such a good investment – I really enjoy them! To think of it when they came out my reaction was who in their right minds would ever buy them?!?!?
- Stamps: WMS Way out west, Say it out loud
- Paper: PTi
- Ink: Distress Ink various colors
February 16, 2013
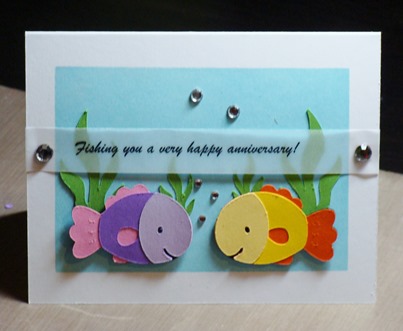
Fishing you a very happy anniversary
Sponged the blue background. Cut the fish and the grass using the create-a-critter cartridge. Printed the sentiment on vellum.
- Paper: PTI and Coredinations
- create-a-critter cartridge, cricut
February 14, 2013
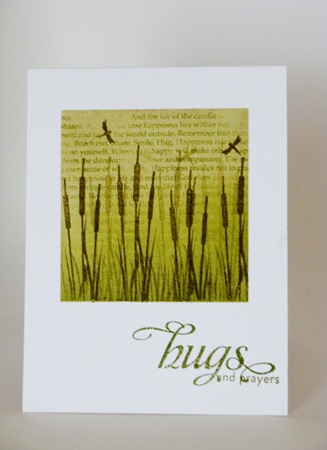
Hugs and Prayers
Used the same technique as my last card.
- Stamps: Technique tuesday out in the wild, WMS Text it, WMS Say it out loud
- Paper: PTI
- Distress inks: Shabby Shutters, Peeled paint and Forest moss
February 12, 2013
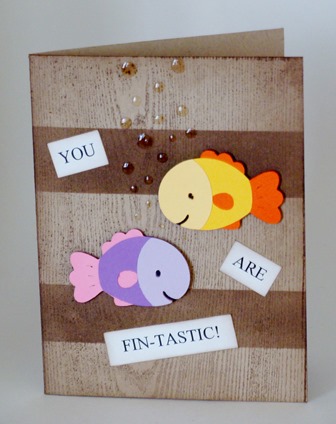
You are fin-tastic
Stamped the woodgrain background in walnut stain distress ink. Masked it using painter's tape. Then sponged it in the masked areas. Cut the fish using cricut. Printed the sentiment on white CS and then sponged using walnut stain DI.
- Stamp: Impression obsession cover-a-card woodgrain
- Paper: PTI and Coredinations
- Ink: Distress ink walnut stain
- Accessories: cricut, create-a-critter cartridge
Sponged background
Masked the background using painter’s tape. Sponged it using distress inks. Stamped the images and accented with glossy accents. Printed the sentiment on white CS and sponged it.
- Stamps: Technique tuesday out in the wild
- Paper: PTI
- Distress inks: weathered wood, spun sugar, tumbled china.
January 21, 2013
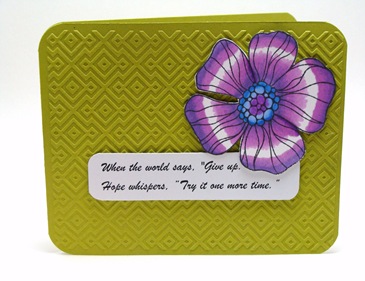
When the world says
- Stamps: Hero arts blossom art
- Paper: PTI Crafter’s companion
- Lifestyle crafts sequence EF, spectrum noir markers
January 18, 2013
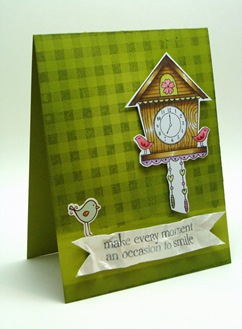
Make every moment an occasion to smile
Masked and stamped gingham background in Peeled paint. Sponged around the edges. Colored the image in Spectrum noir markers. The little bird is a sticker. Cut a banner from white CS. Painted it with Inka gold platinum using fingers. Stamped the sentiment and then crumpled it.
- Stamps: Hero Arts Cuckoo, Impression obsession cover a card Gingham
- Paper: PTI, Crafter’s companion
- Inka Gold Platinum, sticker, spectrum noir markers
January 16, 2013
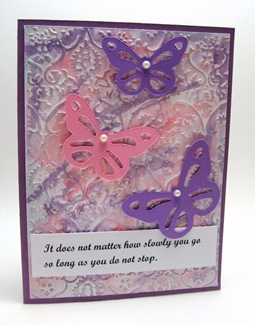
Butterflies
The butterflies are cut using cricut. The background was created by watercoloring with distress inks, then embossing and finally burnishing with inka gold.
- Paper: PTI and TPC
- Distress inks, watercolor brush, inka gold platinum, cricut, SCAL.
January 14, 2013
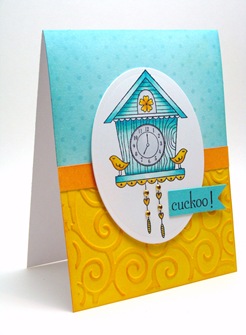
Cuckoo!
Can you believe this almost a one layer card?!?!? Sponged the upper half with tumbled glass and the bottom half with Dried marigold. A painter’s tape is very helpful in masking and keeping the card in place while you sponge!
Masked the bottom half and stamped polka dot background. Embossed the bottom half with swirls EF. Sponged lightly on it with spiced marmalade. For the strip, sponged the spiced marmalade directly onto white CS. Colored the image with spectrum noir markers.
- Stamps: Hero Arts Cuckoo
- Paper: PTI and CC
- Swirls EF, distress inks, rhinestone, spectrum noir markers.
January 11, 2013
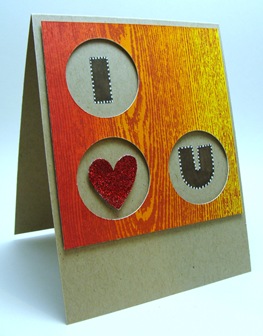
I <3 U
Another valentine inspiration! Created my own patterned paper by sponging distress inks dried marigold, spiced marmalade and barn door. Then stamp woodgrain background in bar door. I cut out the letters using Cricut but glittered them using the wrong color. Then I’d a light bulb moment – love those! I used the negative of the letter die cut and used it as a stencil. Colored the letters using spectrum noir markers and dotted them with white gel pen!
- Paper: PTI
- Glitter, Cricut, Spectrum noir markers, SCAL.
January 9, 2013
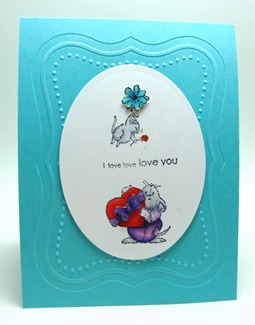
I love love love you
I made two somewhat different cards using the same stamps.
Stamped the image in memento and colored with spectrum noir markers. Sponged the card vase with Spiced marmalade, barn door and broken china. Stamped the border repeatedly with fired brick.
In this card I simply embossed the card base.
- Stamps: Penny Black I love you, Waltzingmouse Wild West borders
- Paper: PTI and Crafter’s companion white
- Spectrum noir markers, Lifestyle crafts Label embossing folder, distress inks – spiced marmalade, barn door, broken china and fired brick.
January 7, 2013
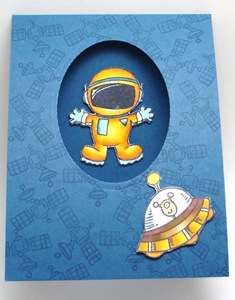
You’re out of this world
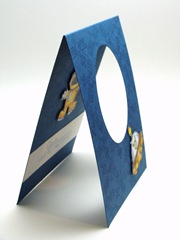
Stamped the background in versamark. Die cut an oval in the card base using nestabilities. Colored the images with spectrum noir markers and popped them up using foam tape.
- Stamps: Technique Tuesday Out of this world
- Paper: PTI and Crafter’s companion white CS
- versamark, memento tuxedo black, distress ink faded jeans, spectrum noir markers.
