January 31, 2010

January 2010 goals

Oh I’m so happy to say that I met all my goals for the month of January:

  1. Make at least 2 cards/papercraft project every week. tick
  2. Participate in 1 challenge every week. tick
  3. Do one sewing project every 2 months – well I’m half way through. Hopefully I should have it finished end of next month {fingers crossed}.
  4. Send one card for publishing every month. tick
  5. Upload all cards to SCS gallery as well. tick

I might change goal (4). I tried to ask myself why I wanted to do it and I really couldn’t come up with a good answer. I myself don’t subscribe to any of the crafts magazine, yet. Sometimes I do read them in the library. So I started to wonder if I should make creations which would be exclusive to a publication and not freely accessible to all. For now I don’t think so. Yes the reward is tempting – getting your name published in the magazine and the material rewards (if any); but I think I will try for excellence right now rather than success :) (as Aamir Khan says in 3 idiots)!
January 29, 2010

Create Your Own Friday #4 – Easel card

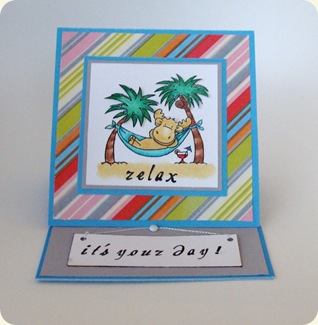
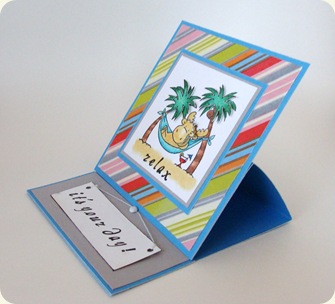
Here’s another new thing that I tried for CYOF – an easel card. You can get the tutorial at SCS. It’s quite easy to make except you need to think about how to design the bottom so that the easel would stand up. Maybe it would be easier if you have a sturdier cardstock. Maybe using my Wasau 92 lb would’ve been better than using the DCWV. I had a hard time deciding how and where to place the brad. I wanted this card to be masculine enough and so that struck off a whole lot of embellies that I could’ve used :). For the sentiment I wanted to give it a look such that it’s a sign hanging from a nail.

And that made me reckon, everywhere we go we see all this for ladies – apparel, shoes, accessories and what not. In Chennai, there’s a street that has shops selling sarees or jewellery! Can you imagine what a heaven it must be for women (except me :))?!?! Even here in US, my DH always says that I have so many options to choose from when it comes to clothes but for men there isn’t so much variety. It’s the same for masculine vs. feminine cards! When it comes to making the latter, my mind is filled with options – oh I can use the liquid pearls or the flowers or the rhinestones etc.; for men it’s the other way round – oh I *cannot* use the rhinestones or flowers or… you get the picture :)

Ok let’s get to the important things – my card

DSC04530

DSC04534

Supplies: DCWV CS and PP; Prismacolor pencils; clear EP; brads; crop-a-dile

January 25, 2010

Crop your image

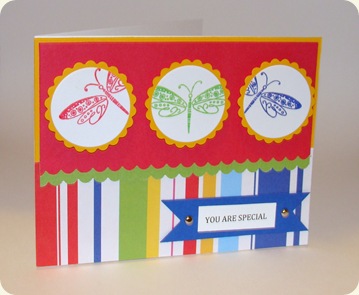
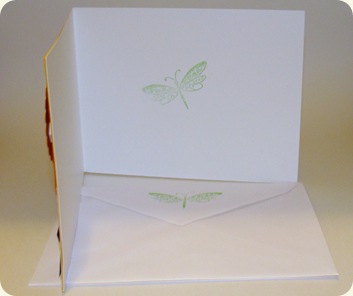
That was the challenge in LSC 228 (Limited Supplies Challenge) at SCS. I used my Inkadinkado Patterned birds and bugs set for this and I wanted to decorate the inside as well as the envelope but I’m not sure I was very creative at doing that. Next time!

Rules of the challenge:

  1. Crop an image
  2. Repeat the cropped image on your card at least 3 times (Oops, I’d forgotten this one but looks like I still made it!)
  3. As for embellishments, let's go basic: brads and eyelets only!

DSC04521

DSC04522  It was easy to decide on the colors of this card because there are only so many colored inks that I have :). The circles are popped on dimensionals, I don’t think that got captured in the photo. The dragonfly images are embossed with clear EP.

Supplies: Inkadinkado Patterned birds and bugs stamp set; DCWV, Bazzill and Wasau CS and PP, Versacolor inks, silver brads, scallop scissors, clear EP, nestabilities.

January 22, 2010

Create Your Own Friday #3 – Gift card holder

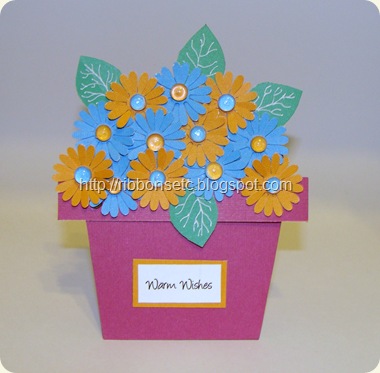
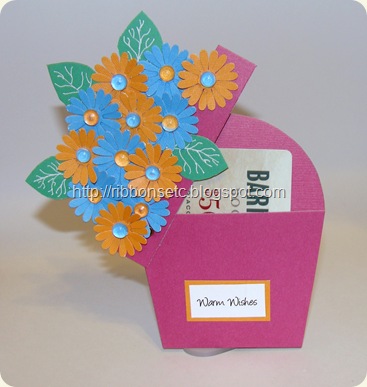
This gift card holder is inspired from the flower pot card at SCS.Instead of the slider I chose to give it another mechanism for holding the gift card; and let me just say that I’m soooooo pleased with what I did!! I’m a genius :)

This is the front:

DSC04518

This is how you open!

DSC04519

So what do you think?!?!?

Supplies: DCWV cardstock, Stacking daisy punch, dew drops, white gel pen.

January 20, 2010

How to fix/add light to your photos

I often have problems with the lighting in my photos. Most of the times when I take the photo, it’s evening/night and there’s no daylight and when on a holiday when I do take a photo in daytime, we all know how frequent the sun is in this part of the world! So let’s say I *always* have dull light in my photos and I finally found the elixir to my problems – Windows Live Photo Gallery. All I do these days is take a photo in artificial light (a.k.a bulb!) and then “auto-adjust” it in the Photo Gallery. To show you a comparison, first is the original photo and then is the photo after adding light.DSC04496 - Copy

DSC04496

If you would like to use this feature, all you’ve to do is:

  1. Install Windows Live Photo Gallery.
  2. Open WLPG.
  3. Double-click on the photo that you would like to adjust. It will open up in a full window.
  4. Click on the “Fix” menu option at the top of this window. This brings some options on the right sidebar.
  5. Click on “Auto-adjust” on the right sidebar.
  6. Lo and Behold! You’ve a perfect photo ready to be uploaded to your blog/gallery!

January 18, 2010

SC262 and CC253

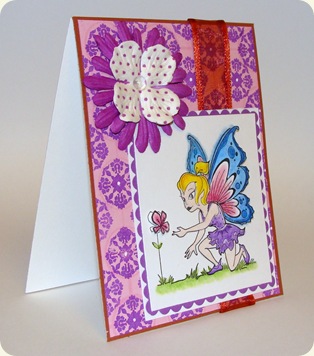
One card and two challenges! This card uses the color combo of Color Combination 253 and the sketch from Sketch Challenge 262 at SCS.

DSC04506

This image is from Inkadinkado set. I like the way I popped up a part of the wing and there’s some glitter on it. The background was created using the PTI Guide Lines two.

Supplies: DCWV and Bazzill CS, Prismacolor pencils, OMS, Stardust stickles, Prima flowers, dew drop, sheer ribbon, scallop scissors, Inkadinkado stamp, PTI guide lines two stamp set, white gel pen.

January 15, 2010

Create Your Own Fridays #2 – CAS Style

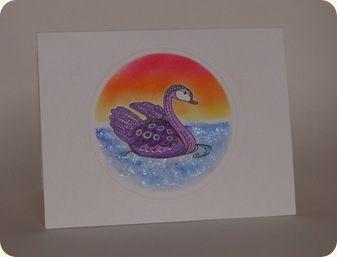
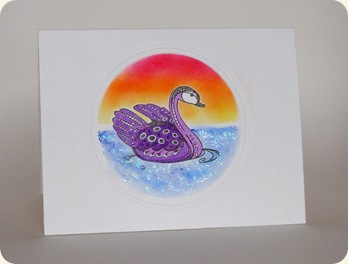
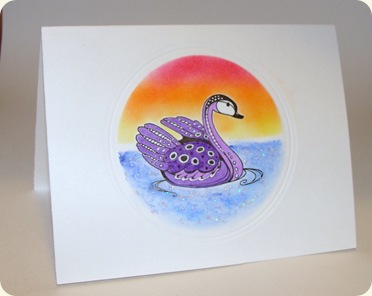
Here we are, with our next edition of CYOF! This time I tried a CAS (short for Clean And Simple) card and I must say that it turned out just the way I’d imagined if not better. This card contains two of my firsts: one is getting a border using nestabilities and the other is shading using sponging. I stamped the image in black ink, clear embossed it and then colored. For the water, I sponged using blue pigment ink and then added some swirls using a darker shade of ink and a tortillion. At the end I added some glitter to it. For the sky, I used a red, orange and yellow ink. First I sponged the yellow (lighter first), then shaded over it with orange and finally red. All the sponging was done with nestabilities in place so that color doesn’t go over other parts of the card. I also maked the image while doing the sponging. Okay too much talk and no card make readers anxious! :) So here’s the card…ta da!

DSC04467 

I just love the splash of color on that white. I thought a lot and decided that any other addition to the card would interrupt the pristine look of the card. Oh and I colored those white dots, etc in the image with a white gel pen.

January 12, 2010

Challenge #1 – Happy New Year

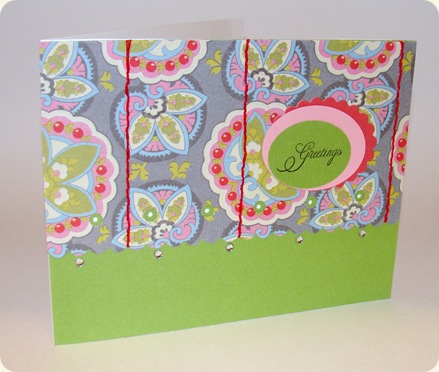
I made this card last week but didn’t get a chance to upload it until today! The first challenge that I’m participating in this year is hosted by caardvarks!! I love their challenges – there’s always something different and enough time to complete your project. This time it was a sketch challenge and I must say that was a very unique sketch. This is my take on the sketch.

DSC04463

I did some hand-stitching with a red floss and this was my first time trying to do it. I added some glitter to the PP but it’s not visible in the photo.

Supplies: DCWV PP and CS, Flourished Words stamp set, rhinestones, nestabilities oval, stardust stickles.

January 8, 2010

Create Your Own Fridays #1


Yes that’s the new feature I’m going to start with the new year! Every friday will be devoted to a card made by own free will, it could be a sketch of mine or color combination or some technique/tool/etc. I realized that in doing challenges I’d forgotten to let the creative part of my brain go leash-less.

To mark this new feature, I’ve also updated my the look and feel of my blog! How do you like it? I just love the new design!! Since it’s newly updated, if you encounter any glitches let  me know through your comments and I would try to fix it as soon as possible. Till then bear with me :)

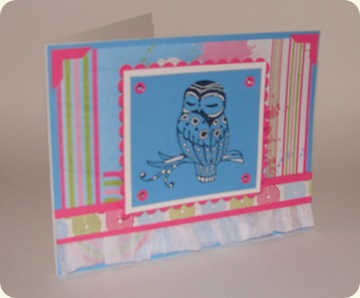
Ok coming to my card. In this card I used a new embellishment – ruffled tissue skirt. To create this, all you need is a strip of tissue paper and then pleat it. You could either pleat it by making pleats one by one or you could do what I did – sew a thread through the strip and then pull the thread to form the pleats.

DSC04451

If you make a card using this tissue skirt, then do link it here. I would love to see it!

January 5, 2010

Happy New year!

Wish you all a very happy new year! With the onset of the new year, my mind has been churning thoughts about what my goals would be this year. I remember reading somebody's blog (probably Angie Juda’s) where she was asked  how did she achieve such a demo status. To which she replied that she sets her goals and then starts working towards them. Every month she does an inventory check to see how far she’s along her goals. Yes this advice must’ve been given by myriad many but when you see someone implementing it and being successful at it, you get inspired from it. So inspired from her I decided to have some goals with respect to my crafting this year and announce them publicly so that I’m bound to them.

Here’s what they are:

  1. Make at least 2 cards/papercraft project every week.
  2. Participate in 1 challenge every week.
  3. Do one sewing project every 2 months.
  4. Send one card for publishing every month.
  5. Upload all cards to SCS gallery as well.

How will I account for them? On the last day of every month, I’ll post the stats for each item. :)

Now off I  go to fulfill my goals, so wish me luck! :)