August 27, 2012

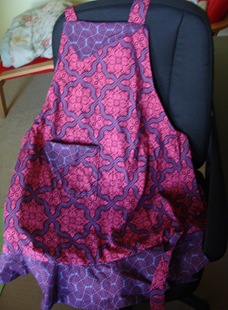
Apron

I made this apron for my friend. This is the second time I’m using this pattern. I made the same apron for myself sometime back.

DSC00109

The pattern is McCalls 5643; and yes I used the remnant fabric as frills on this tote bag. I simply love it when I can put remnant fabric to good use!

August 24, 2012

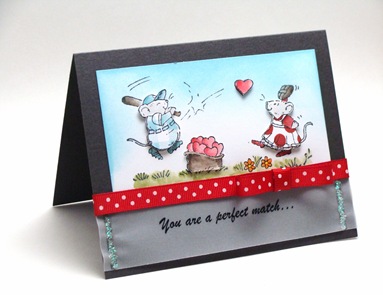
You are a perfect match

Since I took the Stretch Your Stamps class, I’ve started using vellum more and more – which is good. I also think about various ways in which I can use my stamps. For example in the card below the dress for both has been paper pieced from patterned paper that I created using my background stamps! Yes it was a lot of work but totally worth it!

DSC00110

This is my first card with watercoloring using distress inks. I recently got the Koi waterbrush and took it for a test ride on this card. It was a lot of fun! Had to be given that I love to color – I find it very therapeutic, if I may say so. I also used Prismacolor pencils here and there where I didn’t have the right colors in distress inks. Then sponged the sky using Broken china. The sentiment was printed on the computer. Oh and I had to add some stickles because the adhesive on the vellum was showing up Sad smile

  • Stamps: Penny Black good catch
  • Paper: PTI grey and white, Recollections vellum
  • Distress inks various colors, Prismacolor pencils, Koi waterbrush

August 22, 2012

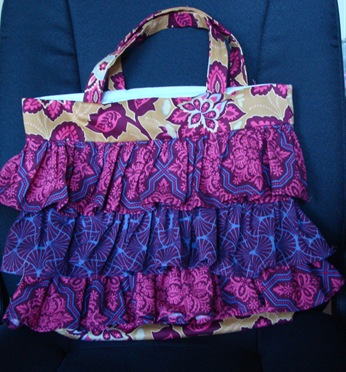
Ruffle bag/tote

I wanted to make something for my friend’s 5-year old when I came across this pretty bag. It just so happened that I’d the required and so I got working!
DSC00108

It was pretty straightforward to make this except a few things:

  1. The way to attach handles is different from what I see usually. Not only did I have trouble sewing so many layers but also the way the handle stands up is not how I would like it to. If I were to make this bag again then I would simply sandwich the bag between the outer fabric and the inner lining and stitch it through.
  2. Per the tutorial, when stitching the bottom, you stitch the outer fabric and the lining together. Again this is different than what I’ve usually seen. It could be for ease and simplicity but the next time I would stitch them separately. As a beginner it was hard for me to align the inner and outer layer together.

Above are just minor things which would make a difference for an adult but I think wouldn’t be so noticeable by a kid. I added the ruffles only on the front side since that was all the fabric I had. Each ruffle fabric was around 44” in length and as you can see it ruffled up pretty well. The outer fabric is home decorator fabric, the ruffles are quilting/regular cotton and the lining is also I believe regular cotton.

I hope the kiddo likes it!
August 16, 2012

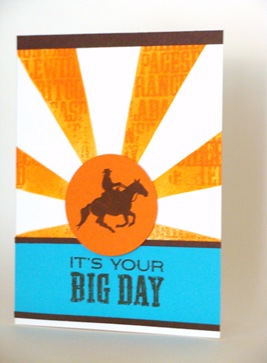
It’s your big day!


DSC09979
For the sunburst, I first created a sunburst mask. Stamped a background from Wild West in Spicy Marmalade and then sponged over it with the same ink making it a little darker on the outer edges to give the illusion of sun’s rays. The little brown strips that you see – they’re exactly that – strips and not layers!

This is going into the August 2012 WMS Blog Party!
  • Stamps: WMS Wild West, Saddle up
  • Paper: PTI and TPC
  • Distress inks – spicy marmalade and walnut stain.